What Is the 20-60-20 Rule in Photography? Composition, Lighting & Workflow Guide
As an Amazon Associate we earn from qualifying purchases. Some links in this guide are affiliate links, see our affiliate disclosure for details.
Photographers use the 20-60-20 rule in three practical ways depending on whether they are framing a scene, balancing studio tones, or planning a shoot:
- Visual Depth & Framing (20% Foreground / 60% Subject Zone / 20% Background): Allocating roughly 60% of the frame's visual weight to the primary subject and midfield, while using 20% foreground lead-in and 20% background context so the viewer's eye knows immediately where to rest.
- Tonal & Color Harmony (60% Dominant Tone / 20% Secondary Tone / 20% Accent & Highlights): Keeping 60% of the frame in a cohesive base tone (such as neutral studio shadows or natural foliage), 20% in a supporting midtone, and 20% in high-contrast subject highlights or color accents.
- Production Time & Budget Allocation (20% Pre-Shoot Prep / 60% Shooting & Lighting / 20% Culling & Post-Processing): Preventing over-editing by spending the bulk of your effort getting lighting, focal length, and composition right in camera.
Quick Reference: How the 20-60-20 Rule Applies Across Photography Use Cases
| Use Case | 20% Foreground / Base | 60% Core Subject / Midground | 20% Background / Accent | Recommended Lens & Aperture |
|---|---|---|---|---|
| Landscape Photography | Shoreline rocks, wildflowers, or leading trail | Midground lake, valley, or mountain peak | Sky, clouds, and horizon line | 16–35mm at f/8 – f/11 |
| Environmental Portraits | Out-of-focus table edge, foliage, or doorframe | Subject's face, torso, and hands in sharp focus | Softly blurred studio or street environment | 35mm or 50mm at f/1.8 – f/2.8 |
| Product & Food Styling | Napkin corner, utensils, or surface texture | Hero dish or product lit at 45° | Subtle background props in soft bokeh | 50mm – 85mm at f/2.8 – f/5.6 |
| Sports & Wildlife Action | Leading turf, water spray, or perch branch | Athlete or bird sharp in the center-third | Clean, separated background with room to move | 100–400mm / 600mm at f/4 – f/6.3 |
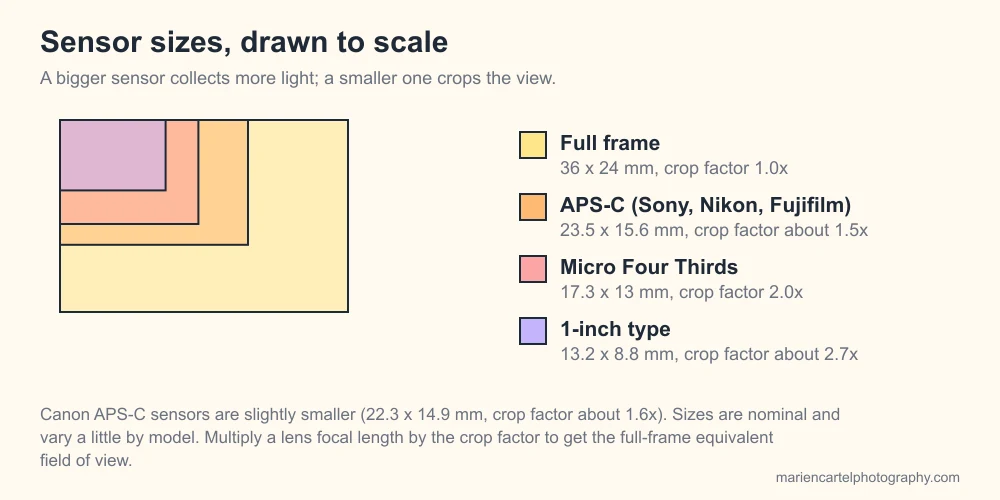
Sensor physical dimensions compared to scale (Full Frame, APS-C, MFT, and 1-inch).
1. The 20-60-20 Depth & Framing Formula Explained
Beginners often make one of two framing mistakes: either the subject floats in the middle of an empty frame with too much dead sky above their head, or the frame is so crowded from edge to edge that the viewer cannot tell what the photo is about.
Breaking the depth of your scene into 20% foreground, 60% subject/midground, and 20% background creates three distinct spatial layers:
- The First 20% (Foreground Lead-In): A low-angle element close to the lens—such as wet stones on a beach, a blurred coffee cup on a café table, or tree branches framing a portrait—gives the eye a starting point and establishes physical depth.
- The Core 60% (Primary Subject & Action): The main subject occupies the dominant visual zone. In portrait photography or makeup and salon work, this means stepping close enough with a 50mm or 85mm lens that the face and upper torso command 60% of the frame's attention.
- The Final 20% (Background Context): Enough environment remains visible behind the subject to tell the story of where they are—without letting a bright sky or cluttered room overpower them.
2. How to Control the 20-60-20 Split Using Focal Length and Aperture
Your lens focal length and aperture ring are the mechanical tools that control how much visual weight each zone receives:
- Wide-Angle Lenses (14mm to 28mm): Naturally expand the foreground (the first 20%) and push the background farther away. In landscape photography, getting within two feet of a foreground rock at 16mm
f/11anchors the bottom 20% of the frame while the mountain range fills the middle 60% and the sky occupies the top 20%. - Standard & Portrait Primes (35mm to 85mm): Compress the background and reduce distractions. Shooting at
f/1.8orf/2.8softens both the 20% foreground element and the 20% background into smooth bokeh, locking 100% of sharpness onto the 60% subject zone. You can test exact working distances and blur depth in our Interactive Lens & Room Distance Simulator. - Telephoto Lenses (100mm to 600mm): Flatten perspective so distant background layers appear stacked directly behind the subject—ideal for wildlife and bird photography where a perched bird occupies the sharp 60% plane and distant foliage forms a smooth 20% backdrop.
3. The 20-60-20 Rule vs. The Rule of Thirds
How does the 20-60-20 rule differ from the classic rule of thirds in photography?
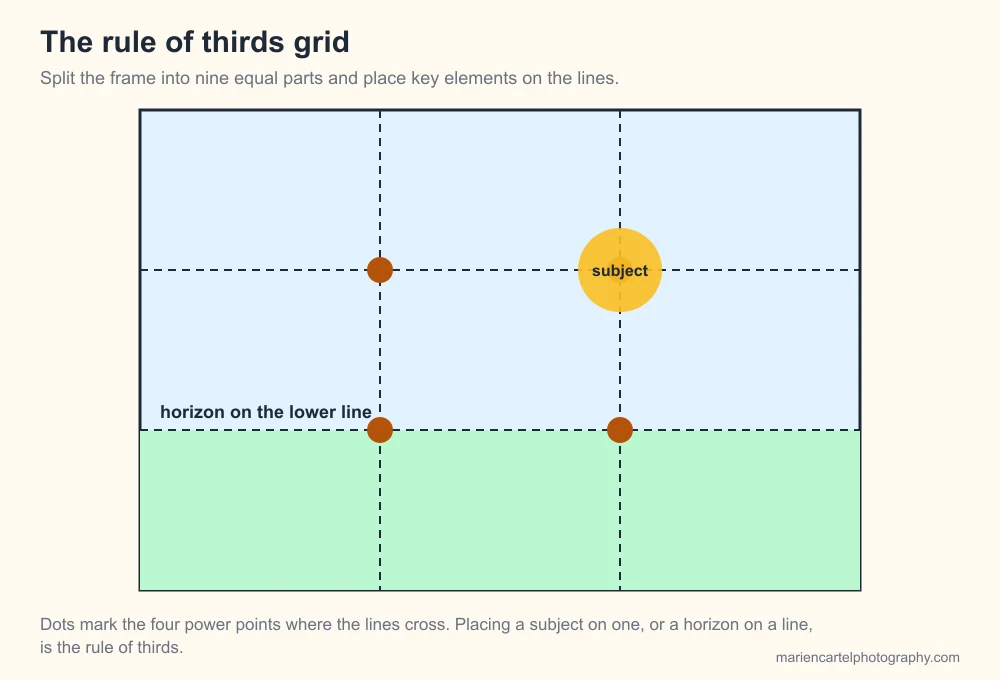
- The Rule of Thirds (33% / 33% / 33%) divides the flat 2D rectangle into a 3×3 grid to help you place horizons and intersection points left-to-right or top-to-bottom.
- The 20-60-20 Rule governs visual weight and Z-axis depth (front-to-back). When a horizon sits on the upper third line in a dramatic canyon photo, the sky actually occupies about 20–25% of the top frame, the canyon walls fill the central 60%, and the foreground ledge anchors the bottom 20%.
4. Applying 20-60-20 to Your Budget When Buying Camera Gear
Experienced photographers also apply a 20-60-20 gear budget split when building a kit from scratch:
- 20% on Lighting, Support & Audio: A sturdy tripod, a circular polarizer filter, a high-CRI LED key light, or a wireless microphone for vlogging and YouTube.
- 60% on Glass (Lenses): Sharpness, low-light performance (
f/1.4vsf/4), and background blur come primarily from the lens—see our camera lenses explained guide. - 20%–40% on the Camera Body: An entry-level or mid-range mirrorless body (like those in our best beginner camera guide) paired with a top-tier lens consistently outperforms a flagship body stuck with a dim kit zoom.
Frequently Asked Questions
What is the 20-60-20 rule in photography composition? It is a visual-balance guideline where 60% of the frame's visual weight is dedicated to the main subject and midground, 20% to a foreground lead-in element, and 20% to background context or sky.
How is the 20-60-20 rule different from the 60-30-10 color rule? Both use the same principle of dominant, secondary, and accent balance. In photography, 60% of the image carries the dominant tonal mood (such as warm golden-hour midtones or dark low-key shadows), 20%–30% supports it with secondary environment tones, and 10%–20% provides the bright highlight or complementary color accent that draws the viewer's eye directly to the subject.
Which camera shooting mode is best for practicing the 20-60-20 rule?
Aperture Priority (A or Av mode) is the fastest way to control how sharp or blurred the 20% foreground and 20% background zones look. Use f/1.8–f/2.8 to blur foreground and background layers in portraits, or f/8–f/11 to keep all three layers sharp in landscapes. See our guide on which camera shooting mode you should use for step-by-step settings.
Camera & Lens Settings by Real-World Use Case
Match your focal length, aperture, shutter speed, and lighting modifier to the exact environment you shoot in.
Makeup Artists (MUA) & Beauty Tutorials
- Best Body:
- Sony Alpha a6400 / Canon G7 X Mark III
- Ideal Lens:
- Sigma 56mm f/1.4 DC DN (APS-C) or 50mm–85mm f/1.8 (Full Frame)
- Aperture & Shutter:
- f/2.8 – f/4 for full-face sharpness; f/5.6 for macro eye/lip close-ups · 1/125s for stills; 1/50s (24p) or 1/120s (60p) for video tutorials
- Room Distance:
- 1.2m – 2.2m (4 to 7 ft)
Newborn, Baby, Engagement & Family Portraits
- Best Body:
- Canon EOS R6 Mark II / Sony a7 IV / Nikon Z6 III
- Ideal Lens:
- 35mm f/1.8 (in-home lifestyle & family groups) + 50mm/85mm f/1.8 (tight portraits)
- Aperture & Shutter:
- f/2.0 – f/2.8 (single baby/couple); f/4 – f/5.6 (family of 4+ so every face is sharp) · 1/200s (newborn) / 1/500s – 1/1000s (running toddlers & kids)
- Room Distance:
- 1.0m – 4.0m
Landscape, National Parks (Yosemite/Yellowstone) & Waterfalls
- Best Body:
- Sony A7R IV / Nikon Z7 II / Fujifilm GFX 50S II
- Ideal Lens:
- 16–35mm f/4 or f/2.8 (foreground drama) + 24–105mm f/4 (all-day trail)
- Aperture & Shutter:
- f/8 – f/11 (focused at the hyperfocal distance, roughly 1/3 into the scene) · 1/2s – 2s on tripod with ND64 filter for silky waterfalls; 1/125s handheld
- Room Distance:
- 0.5m foreground rock to infinity horizon

Written by
Marien CartelMarien Cartel runs Marien Cartel Photography, a camera and lens buying-guide site, and photographs the gear shown on it.
Related Guides
What is the rule of thirds in photography
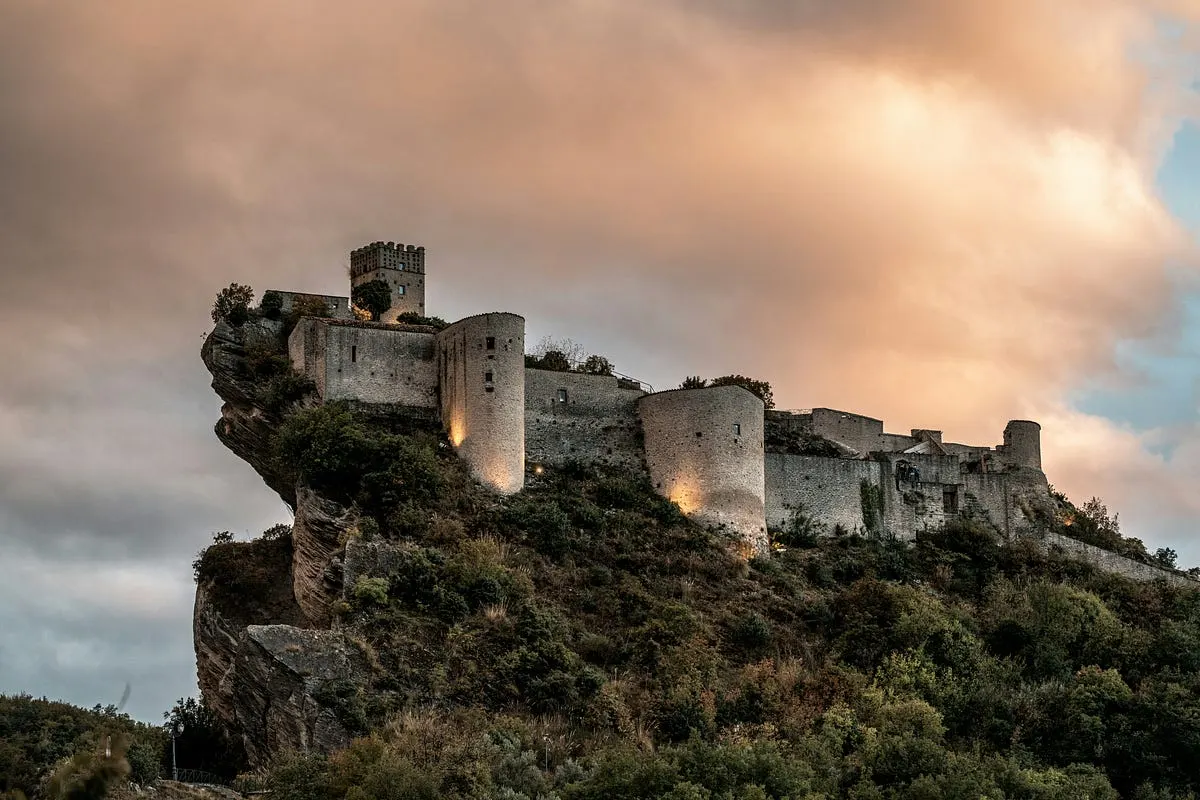
The Rule of Thirds is a fundamental guideline in photography that helps you compose visually appealing images.
Why Are My Photos Blurry? How to Diagnose It From the Photo
Four different causes produce four different kinds of blur. Work out which one you have by looking at the picture, then fix that one — not all of them.
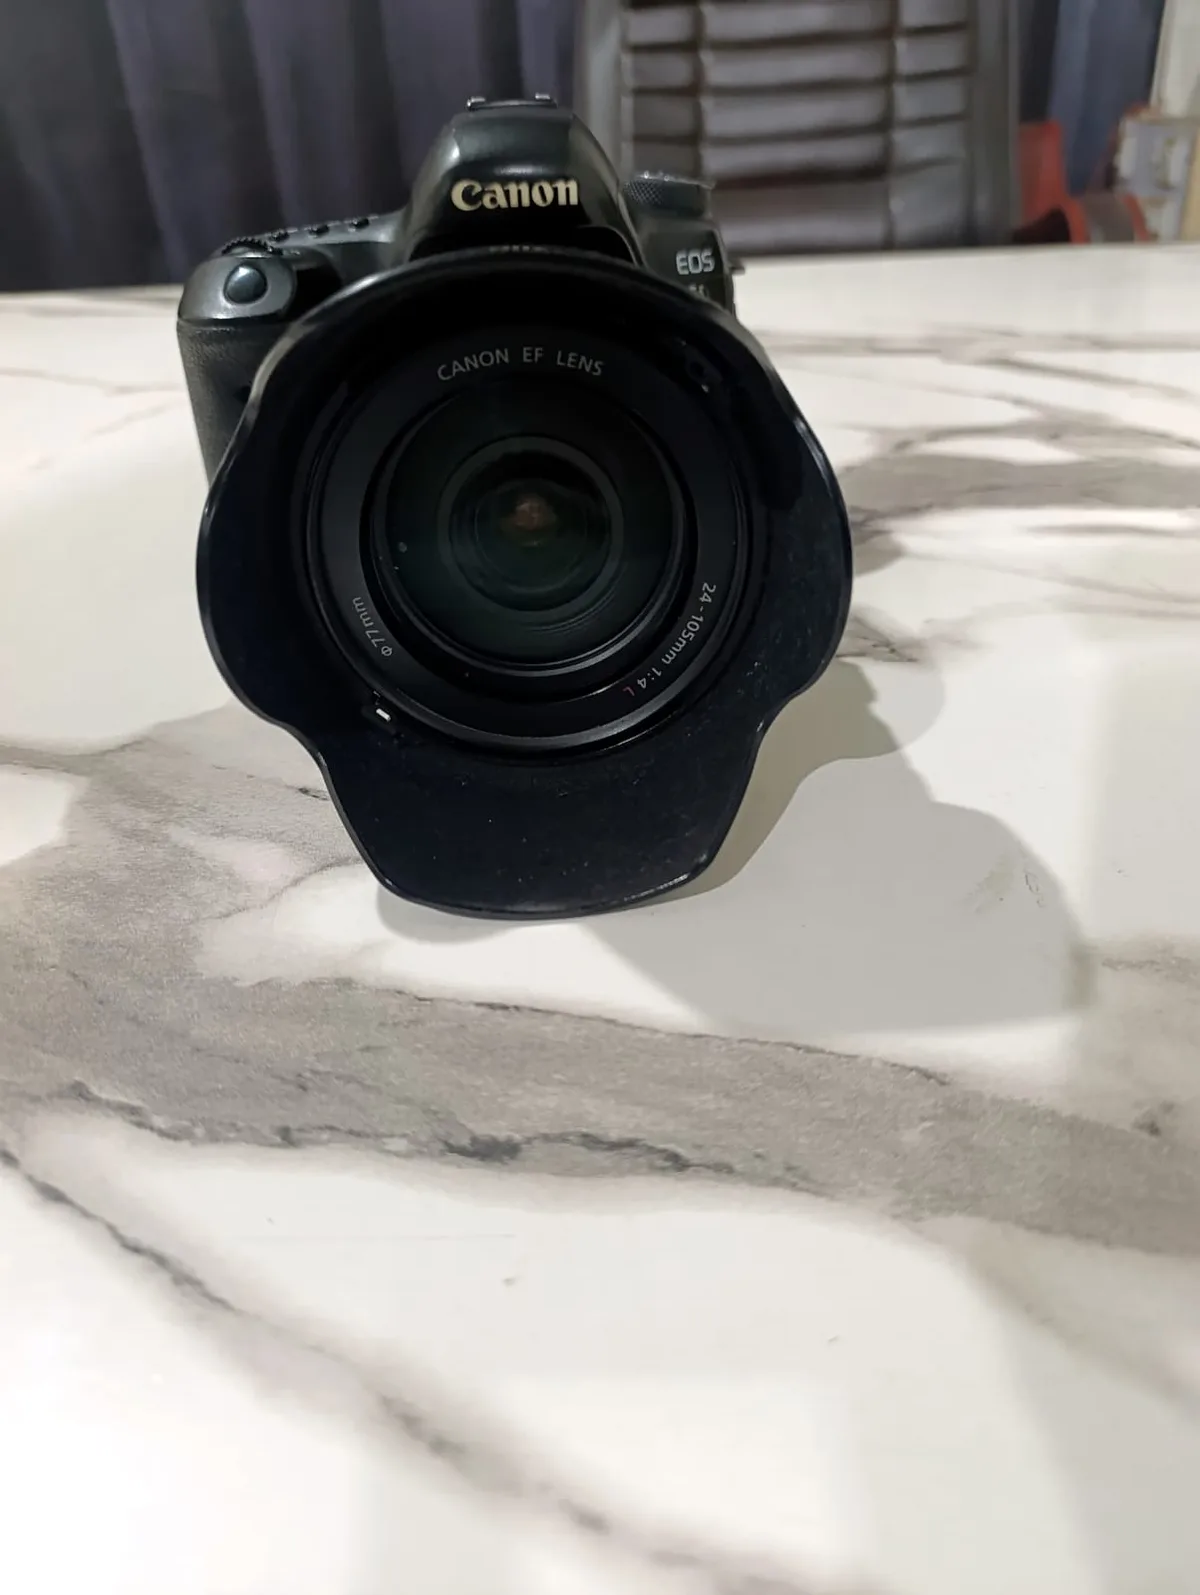
Camera Lenses Explained: What All the Numbers and Letters Mean
EF 24-105mm f/4L IS USM — decoded piece by piece. What focal length and f-numbers actually do, what every brand's letters mean.
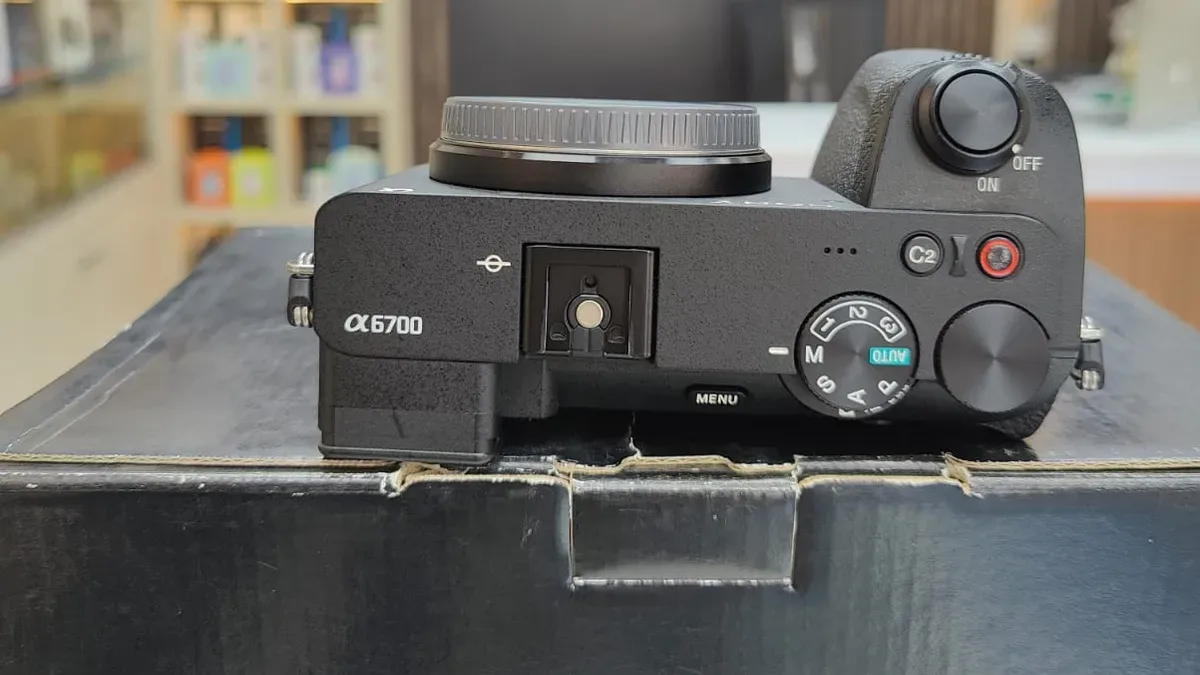
Which Camera Shooting Mode Should You Use? Auto, P, A, S and M Explained
Auto, Program, Aperture Priority, Shutter Priority and Manual: what each mode controls, what you still set yourself, and how to choose one for a shot.

What Camera Is Best for Taking Good Food Pictures
The best camera for food photos is one with a flexible screen, good macro lens options and a tripod-friendly setup. Features, picks and settings explained.
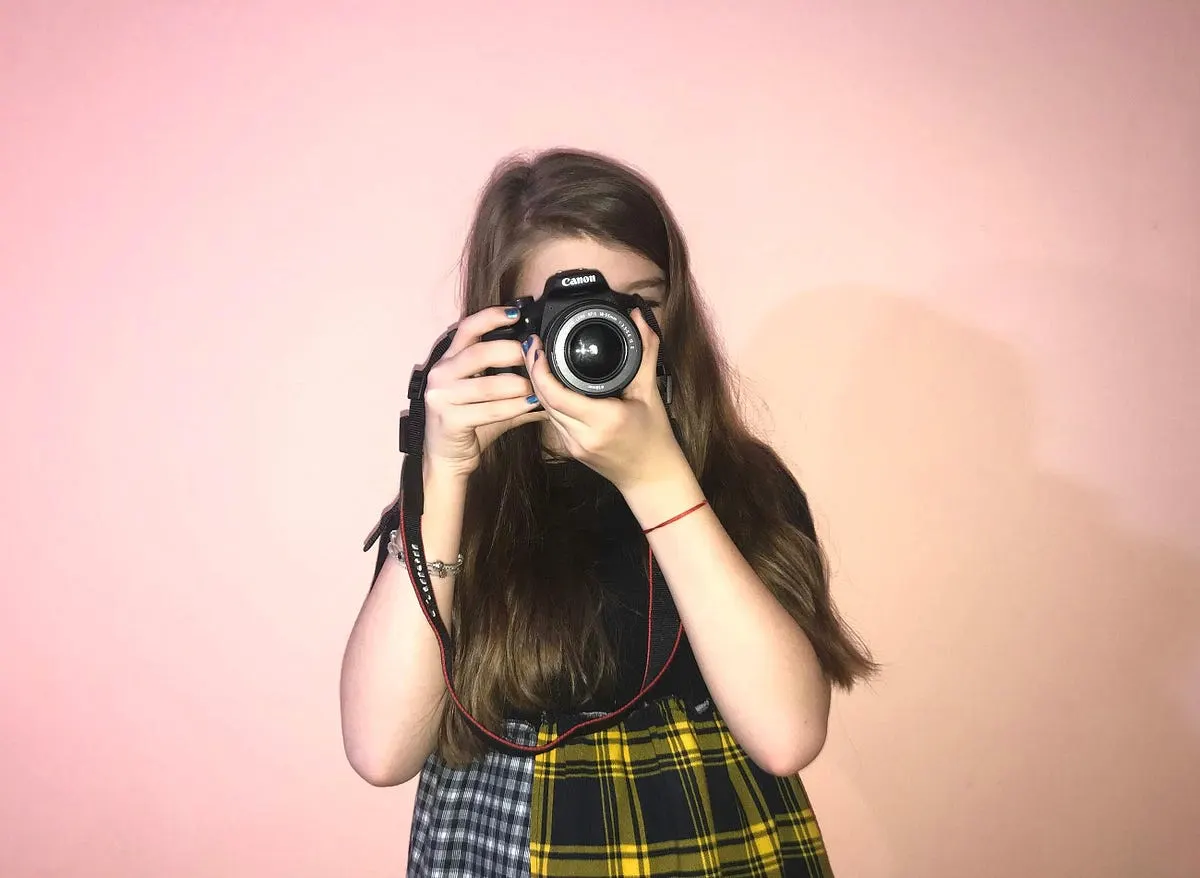
Best Focal Length for Portraits: Specs, Autofocus & Lens Pairing
Best Focal Length for Portraits — a practical buying guide covering what matters, common mistakes and what to buy.