How to Turn a Video Into a Time-Lapse
As an Amazon Associate we earn from qualifying purchases. Some links in this guide are affiliate links — see our affiliate disclosure for details.
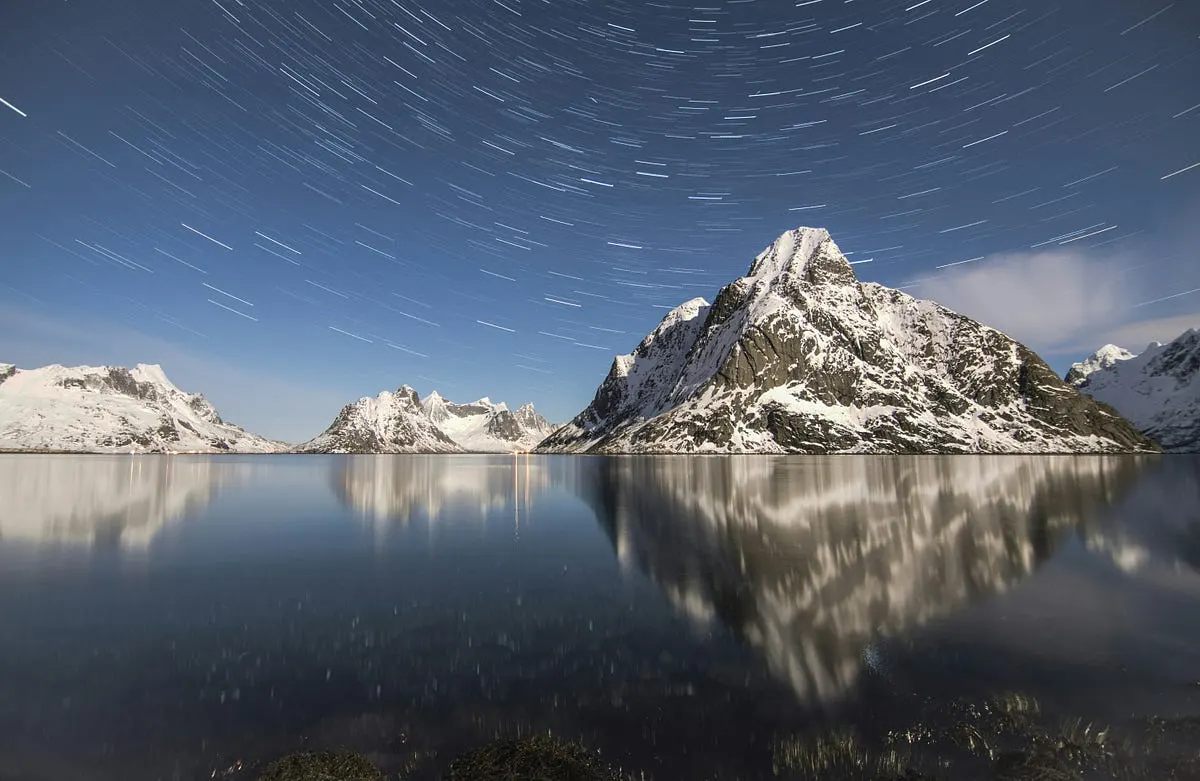
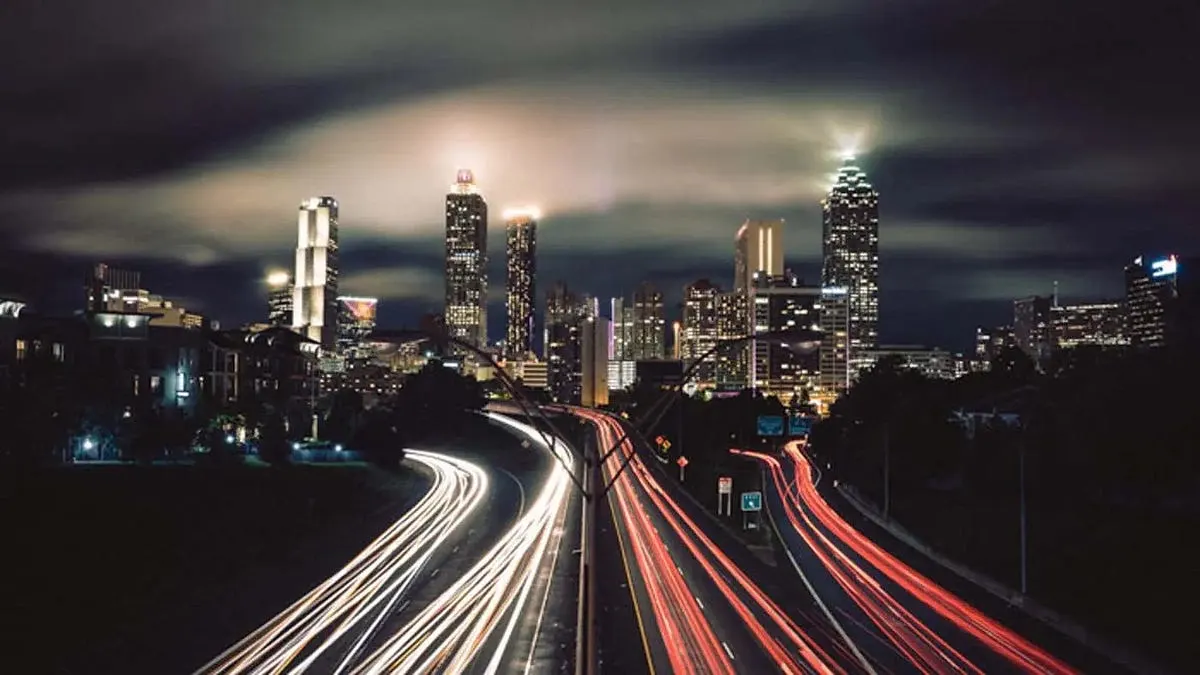
Photo by Jamie MacPherson on Unsplash
Short answer: How do you turn a video into a time-lapse?
Speed up video for anything under twenty minutes of real time, or when you want guaranteed smooth motion. Shoot stills on an interval for longer subjects and for the extra editing latitude of full-size files.
A first cloud time-lapse often comes out jerky even when it is done by the book: camera on a tripod, interval timer running, hundreds of frames. Played back, the clouds stutter across the sky like a flip-book, which is disappointing after standing around for the best part of an hour.
Because continuous video captures every single frame, the motion is already smooth — you're just throwing frames away evenly. That's the opposite of the interval method, where the gaps between shots are exactly where jerkiness comes from.
So if you've already got footage sitting on a card and you want it as a time-lapse, this is the easier path. Here's how to do it in each of the main editors, what the one setting that matters is called, and when this method is the wrong choice.
The short answer
Speeding up a clip is one setting in every editor. What actually decides whether it looks good is the interpolation (sometimes called retime processing) setting next to it:
| Editor | Where | Set speed to | Smoothness setting |
|---|---|---|---|
| Premiere Pro | Right-click clip → Speed/Duration | e.g. 3000% | Time Interpolation → Frame Sampling |
| DaVinci Resolve (free) | Right-click → Change Clip Speed | e.g. 3000% | Retime Process → Nearest |
| Final Cut Pro | Retime menu (or ⌘R) → Custom | e.g. 3000% | Video Quality → Normal |
| CapCut / phone | Speed → Normal | max, then repeat | — |
| ffmpeg (free, no editor) | one command, below | divisor | — |
Counter-intuitively, for a big speed-up you want the simplest interpolation, not the cleverest one. More on that below, because it's the mistake most people make.
How much to speed it up — the actual maths
This is the part that gets skipped, and it's the only calculation you need.
Time-lapses play at a normal frame rate — 24, 25 or 30 frames per second. So:
Finished length = your footage length ÷ speed multiplier
Ten minutes of footage at 3000% (30×) gives you 20 seconds. That's a good, watchable length.
Working backwards is more useful. Decide how long you want the result, then:
Speed % = (footage length ÷ desired length) × 100
Forty minutes of clouds and you want 15 seconds? 40 min = 2400 seconds, divided by 15 = 160, so 16,000%. That's beyond what Premiere accepts in one go, which brings us to a practical limit.
The 10,000% ceiling, and how to get past it
Premiere caps a single speed change at 10,000%. Resolve and Final Cut have their own ceilings. If you need more, don't fight it — nest the clip and speed it up again.
In Premiere: select the sped-up clip, right-click → Nest, then apply another Speed/Duration to the nest. 10,000% nested inside another 200% gives you 20,000%. Resolve's equivalent is a Compound Clip.
There's a simpler read on this, though: if you need more than about 5,000%, your source footage was probably too long for this method. See the last section.
Why the "smart" interpolation makes it worse
Every editor offers three ways to handle frames when you change speed:
- Frame Sampling / Nearest — just picks the closest existing frame. Nothing invented.
- Frame Blending — cross-fades between neighbouring frames.
- Optical Flow — analyses motion and generates new in-between frames.
For slow motion, Optical Flow is magic. For a time-lapse, it's the wrong tool and it will hurt you. You're speeding footage up, which means you already have far more frames than you need — there is nothing to invent. Ask Optical Flow to analyse motion across frames that are 30 frames apart in real time and it produces smearing and warping artefacts, especially on moving clouds and foliage, which are exactly the subjects people time-lapse.
Use Frame Sampling (Premiere) or Nearest (Resolve). It renders faster and it looks better. This single setting is the difference between a clean time-lapse and one that looks subtly melted.
Premiere Pro, step by step
- Drop the clip on the timeline.
- Right-click it → Speed/Duration.
- Set Speed to your percentage. Leave Reverse Speed off.
- Tick Maintain Audio Pitch? No — untick it, or better, detach and delete the audio entirely. Audio at 30× is noise.
- Set Time Interpolation to Frame Sampling.
- Tick Ripple Edit, Shifting Trailing Clips so the timeline closes up behind it.
- Click OK.
If it still looks slightly unstable, add the Warp Stabilizer effect afterwards — not before. Stabilising first and then speeding up wastes a long render.
DaVinci Resolve (free version)
- Right-click the clip → Change Clip Speed.
- Enter the speed as a percentage, or tick Ripple Sequence to close the gap.
- In the Inspector, open Retime and Scaling → set Retime Process to Nearest.
- Delete the audio track.
For finer control — speeding up the middle of a clip while leaving the ends alone — right-click → Retime Controls instead, which gives you draggable speed segments.
On a phone, with no editor
If the footage is on your phone and you don't want to move it to a computer:
- CapCut — select clip → Speed → Normal, drag to maximum. It caps at 100×, applied once. If you need more, export and re-import.
- iPhone Photos — can't speed up existing video natively. Use the built-in Time-Lapse mode in Camera next time instead, which does the interval work for you.
- Google Photos / Android — same story; the speed controls are in the video editor but the range is limited.
Phone editors re-compress the footage each pass, so repeated speed-ups visibly degrade it. Two passes maximum.
Free, with no editor at all: ffmpeg
If you're comfortable with a terminal, this is the fastest route in every sense — no import, no render queue, one command:
ffmpeg -i input.mp4 -vf "setpts=PTS/30" -r 30 -an output.mp4
Reading it: setpts=PTS/30 divides every frame's timestamp by 30, which plays the footage 30× faster. -r 30 sets the output to 30fps. -an drops the audio.
Change the divisor to change the speed — PTS/10 for 10×, PTS/60 for 60×. That's the whole thing.
When speeding up video is the wrong method
Be honest about the length of what you want to capture. This method breaks down in three places:
- Anything over about 20–30 minutes of real time. Continuous 4K video eats card space and battery, and most mirrorless bodies will overheat or hit a recording limit long before you get there. Many cameras will not record continuously for an hour.
- Anything you want maximum quality from. Video frames are heavily compressed. Interval shooting gives you full-size stills — RAW files, if you want them — which means far more room to correct exposure and colour afterwards.
- Hours or days. A plant opening, a building going up, stars moving. Nothing but interval shooting will do this.
Which cameras make this easy
You don't need anything special to speed up video — any footage works. But if you find yourself doing this often, two things genuinely help: a body that shoots high frame rates cleanly, and one with a built-in interval timer so you can switch methods when the subject calls for it.
A built-in interval timer in the menu is the feature to look for. If you're choosing a body with time-lapse work in mind, see our guide to the best video cameras for time-lapse. For the long, patient subjects — the ones where speeding up video won't work at all — see the best cameras for plant time-lapses, and for anything after dark, the best cameras for night sky time-lapse.
Frequently asked questions
What speed should I use for a time-lapse? Start at 3000% (30×) and adjust. Ten minutes of footage becomes twenty seconds, which suits clouds, sunsets and street scenes. Faster subjects want less; slower ones want more.
Will speeding up video reduce the quality? Not by itself — you're discarding frames, not degrading the ones you keep. What does cost you quality is re-exporting repeatedly, and using Optical Flow interpolation, which invents frames that don't need inventing.
Why does my sped-up video still look jerky? Almost always Optical Flow or Frame Blending fighting the speed change. Switch to Frame Sampling or Nearest. If it persists, your source footage was probably shot at a low frame rate or has dropped frames.
Can I turn a phone video into a time-lapse? Yes — CapCut is the most capable free option, up to 100× in one pass. For anything faster, move the file to a computer.
Is it better to shoot a time-lapse or speed up video? Speed up video for anything under twenty minutes of real time, and when you want guaranteed smooth motion. Shoot stills on an interval for anything longer, and whenever you want the extra latitude that full-size files give you in editing.
Do I need an intervalometer? Not for this method — you need none at all. For interval shooting, most cameras since around 2016 have one built in. Check your menu before buying an external one.

Written by
Marien CartelProfessional and Certified Digital Photographer born in the USA, with 22 years of experience in the field of photography.
Related Guides
How to Make a Time-Lapse Video: The Complete Guide (2026)
Time-lapse photography compresses hours, days, or even months into a few captivating seconds.
Time-Lapse Interval: How Many Seconds Between Shots?
Interval settings for clouds, sunsets, stars, traffic and plants — plus the two-line calculation that tells you how long you'll be standing there before you start.
Why Your Time-Lapse Looks Jerky (and How to Fix It)
Jerky time-lapse is almost never the interval — it's your shutter speed. Why frozen frames stutter, the shutter-to-interval rule, and the ND filter that fixes it.
6 Best Video Camera for Time lapse: (Guide & Reviews)
Best Video Camera for Time lapse — Nikon D850, Fujifilm X-T4 and Olympus OM-D E-M10 Mark IV compared, with pros, cons and who should buy which.
Best Camera for Night Video
Best Camera for Night Video — Canon EOS R6 Mark II, Sony A7S III and Panasonic Lumix GH5S compared, with pros, cons and who should buy which.

7 Best DSLR Camera for Low Light Video: (Guide & Reviews)
Best DSLR Camera for Low Light Video — how Nikon D780, Canon EOS 90D and Nikon D500 compare on features and price, and who each is best for.